|
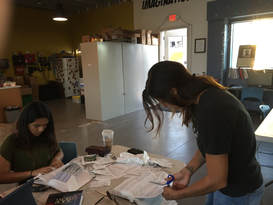
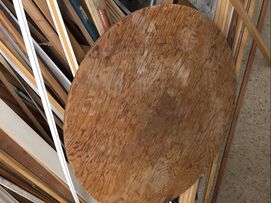
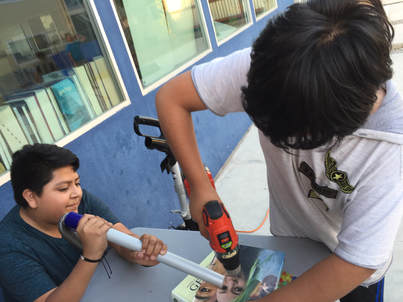
We're in our "repurposing" unit and learning how to make a table out of encyclopedias. Many of us haven't heard of encyclopedias, only wikipedia and this is a way to make these books useful again! The goal is to use the encyclopedias as a column to support the round table top.
We drilled a larger hole in each book with huge wood drill bits and the vaccuum to clean up saw dust.
Last week we sanded the covers and stacked the books on the metal rod to support the table 'leg'. We used wood glue and hot glue. We're not done yet, but we're close! We still need to paint and attach the table top. More photos to come! 
0 Comments
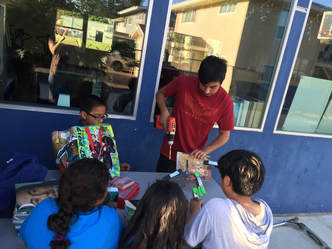
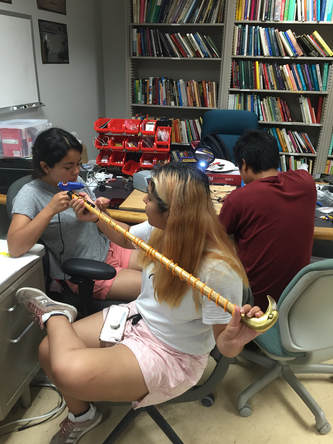
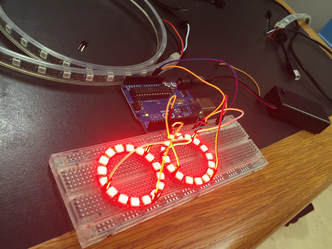
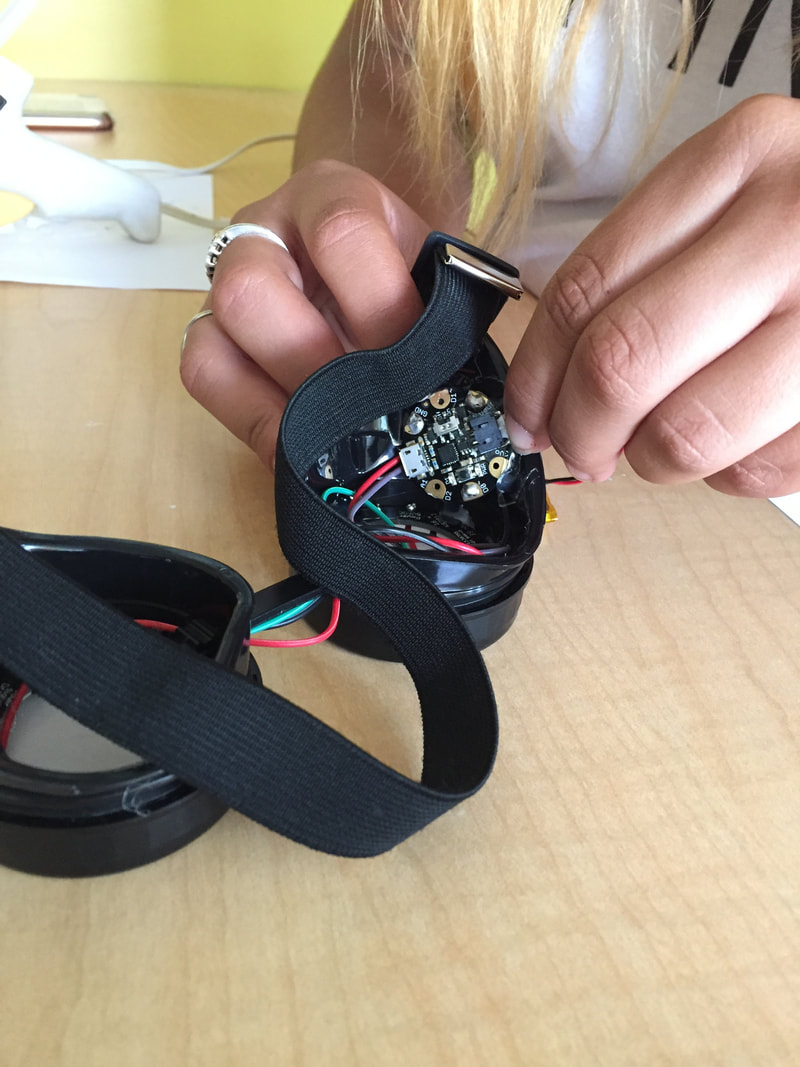
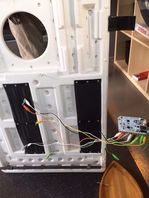
We have been busy working on light-up props for the Nuestra Voz theater camp plays next week. So far we have a light up cane made from EL wire, and light up glasses we learned how to do from this Adafruit tutorial: https://learn.adafruit.com/kaleidoscope-eyes-neopixel-led-goggles-trinket-gemma/overview
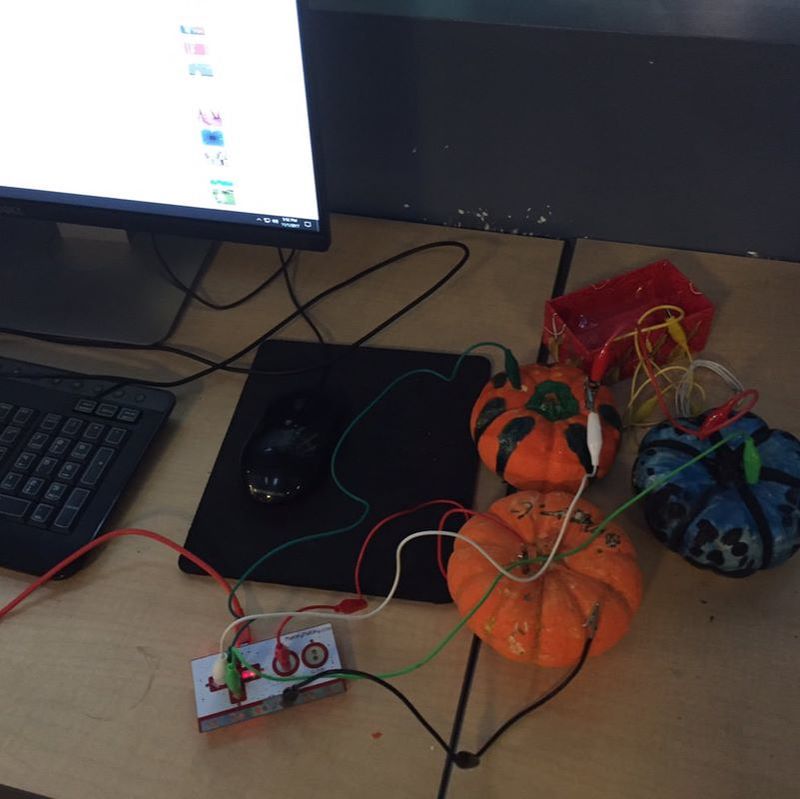
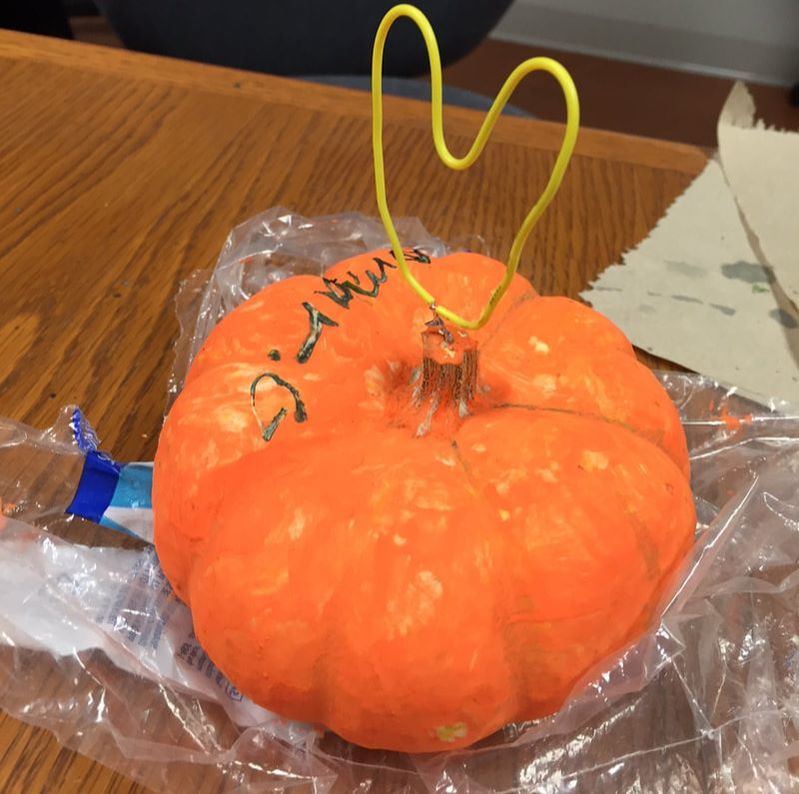
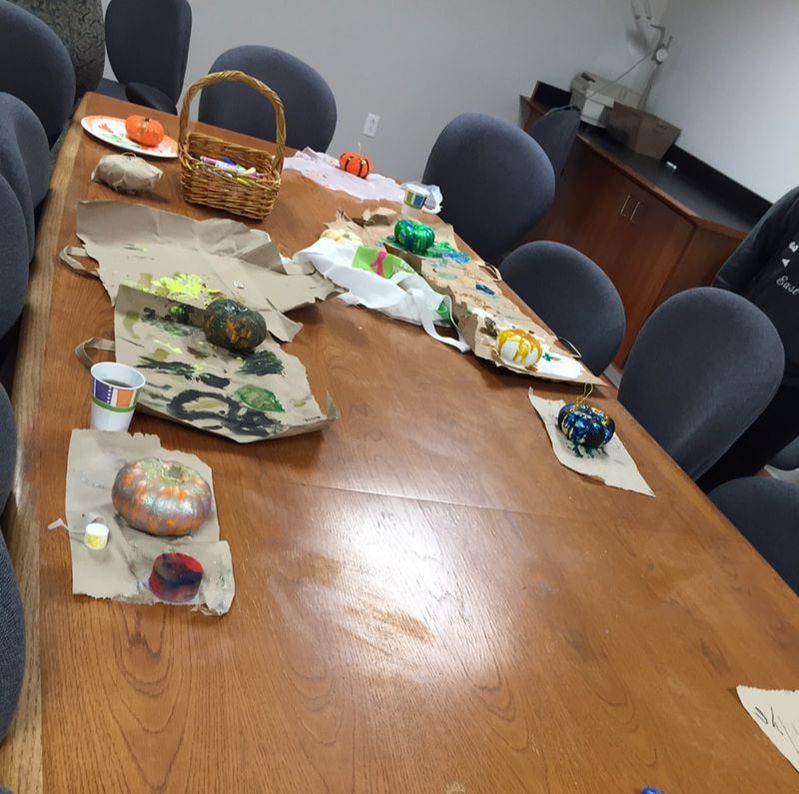
We learned how to plan out the circuit and prepare for soldering with the breadboard and wires and then how to solder on the board and wires together. Check out the video below for more lessons learned! Come see our show, Heroes, next week: Friday, July 27, in UCSB’s Studio Theater (TD-E 1115). The show lasts about an hour with a reception with food to follow. Theater doors open at 5:45pm, show begins 6pm. 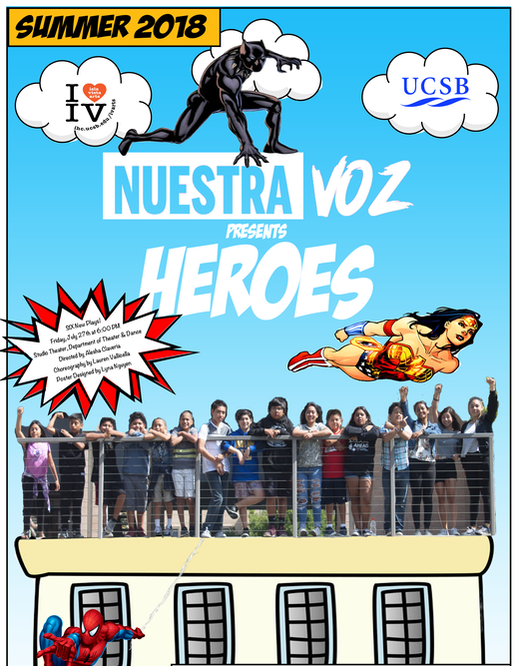 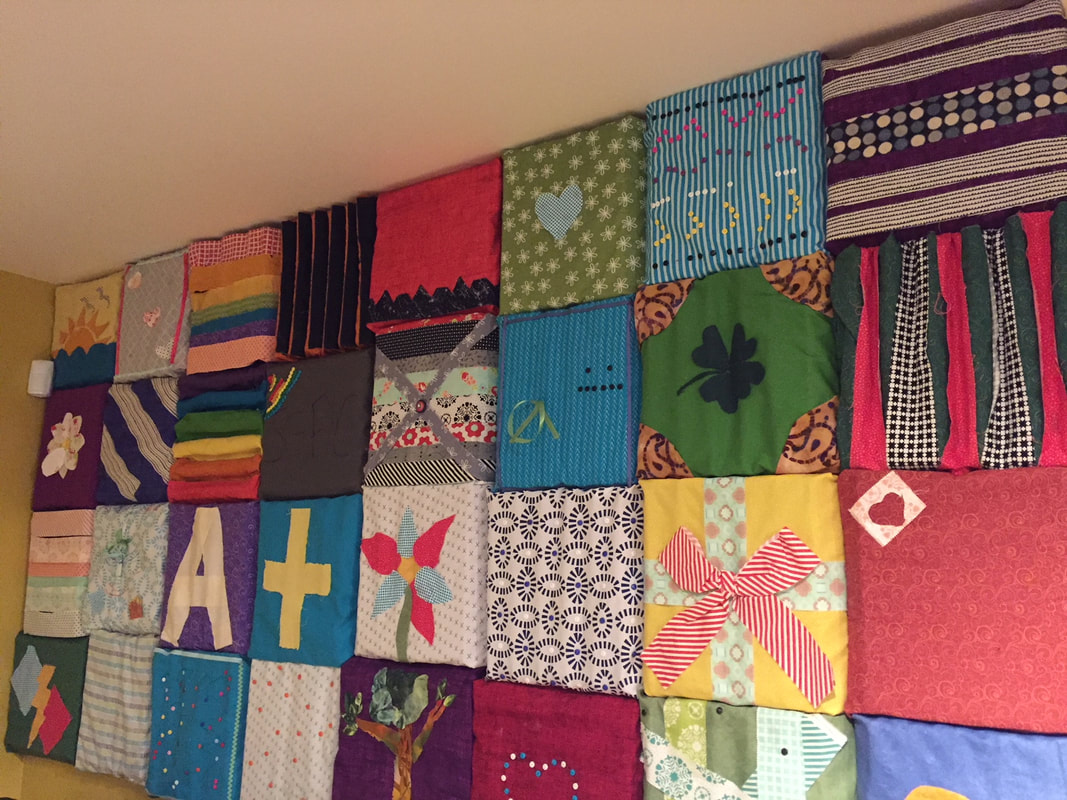 We drilled holes in the four corners of each of the five plywood sheets and installed the panels on the wall in the homework room today. Looking good! Can you find the "SB" for Santa Barbara? Or the "A+" for everyone hard at work in the homework room? Starting with the sun panel and ending with the moon was also an important design choice. 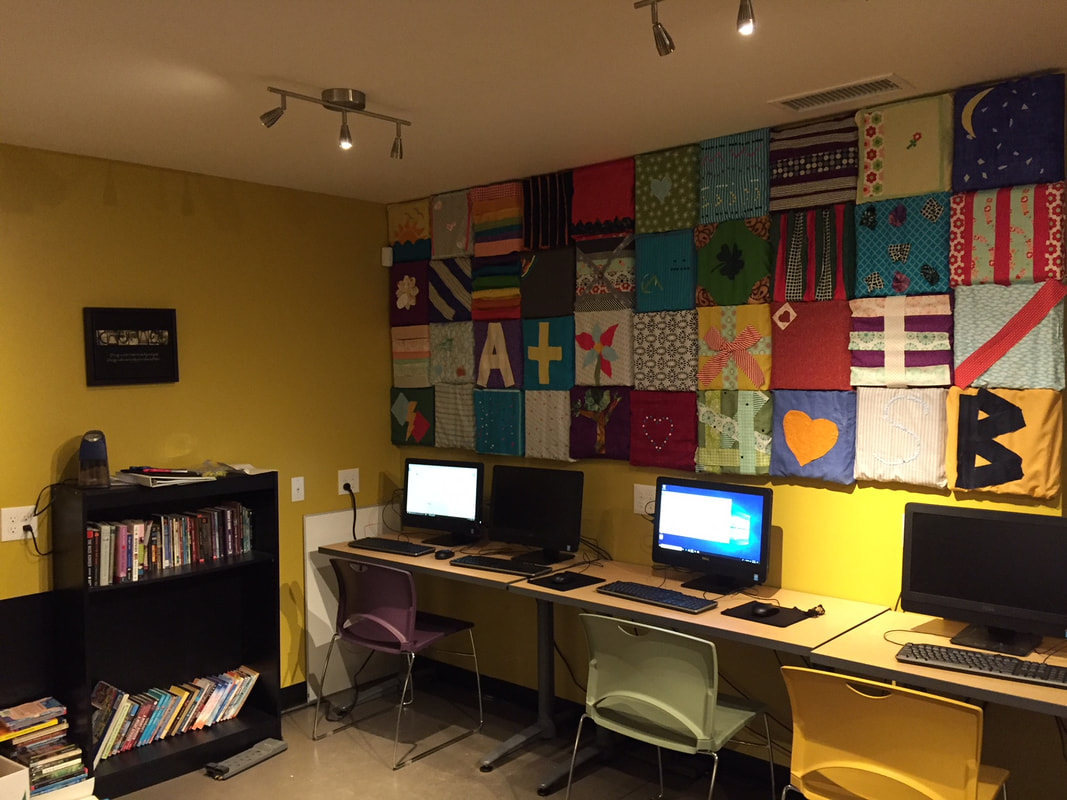 We've been busy! First incorporating virtual reality into this year's Haunted House. We found a video of The Forest with a girl camping and re-created the tent scene, using a parachute hanging from the ceiling and sleeping bags. With 4 Google Cardboard viewers, everyone in each tour group got the immersive experience. Check out the video in 360! We also painted pumpkins and used the Makey Makey to set up a pumpkin piano.
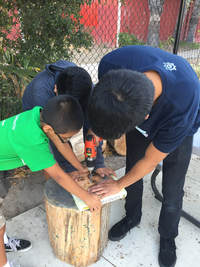
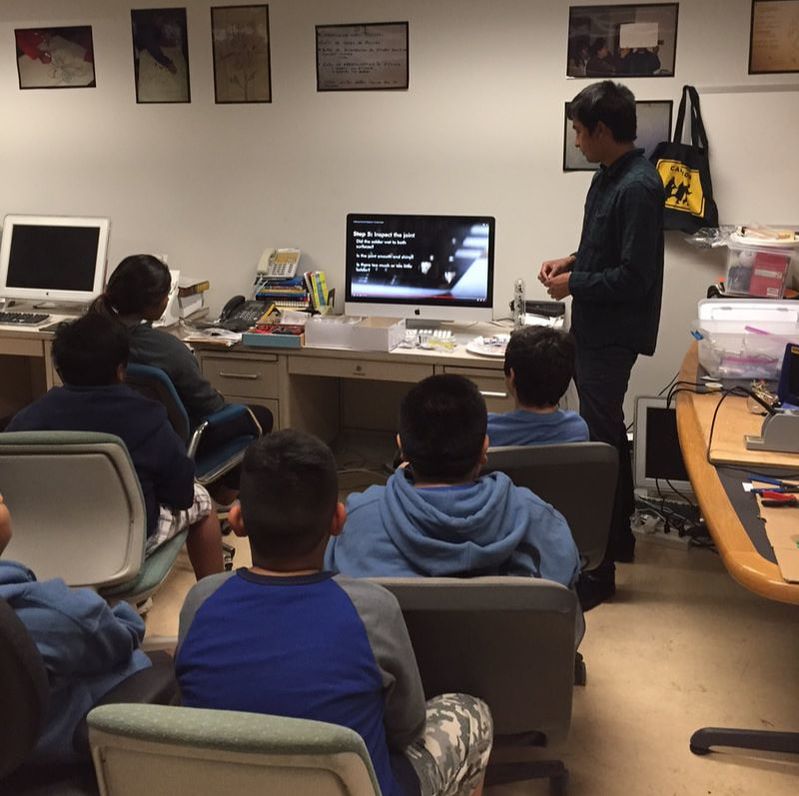
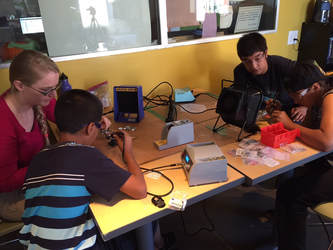
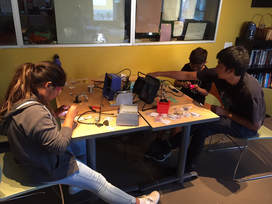
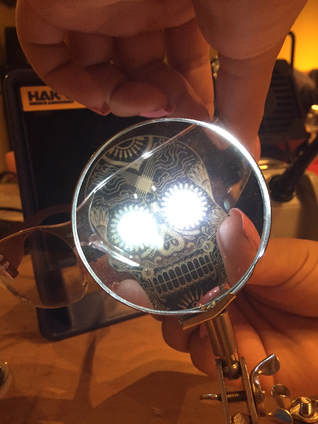
And, we visited the Ubicomp/Innovation Lab at GGSE/UCSB for a soldering lesson.
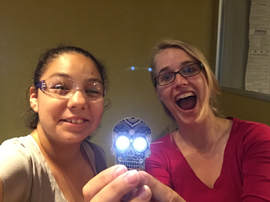
We used a soldering iron to melt a filler metal to permanently connect two other metal pieces on the skull badge. Everyone was able to create a wire bracelet to practice, and then did a Day of the Dead skull badge from Adafruit by soldering the battery holder, the LED lights, and the pin part back at the Center. Some people even learned to desolder if things weren't attached quite right the first time.
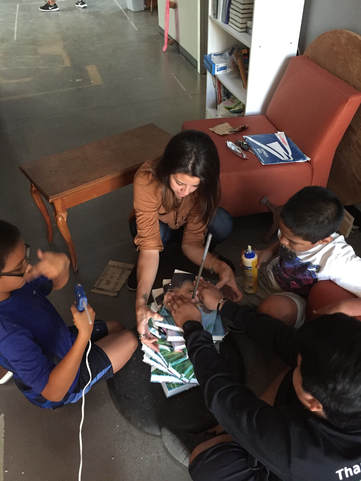
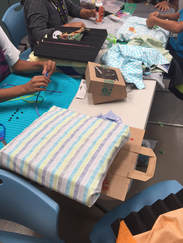
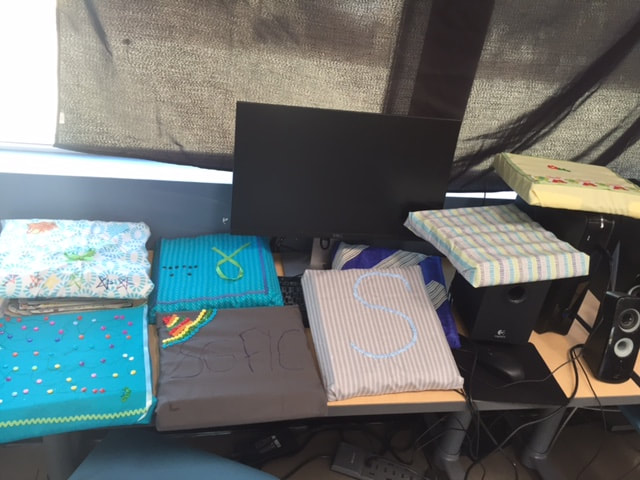
For the final part of the sound project, we invited people from the Teen Center and the community to decorate foam acoustic panels with fabric to reduce noise in the homework room in a personalized, beautiful way!
First we did some testing to get "before" conditions for the homework room. We created the "mini rooms" to model with and without sound panels and compared using speakers, various sound meters on phones, and even our heads. Next we used a sound meter to test sound levels in the homework room in a variety of conditions including silence, small talk, music playing, someone singing or yelling, and a frequency sweep. We also considered whether the sound was coming from inside or outside of the homework room.
Creating the acoustic panels...so far we've made over 30! 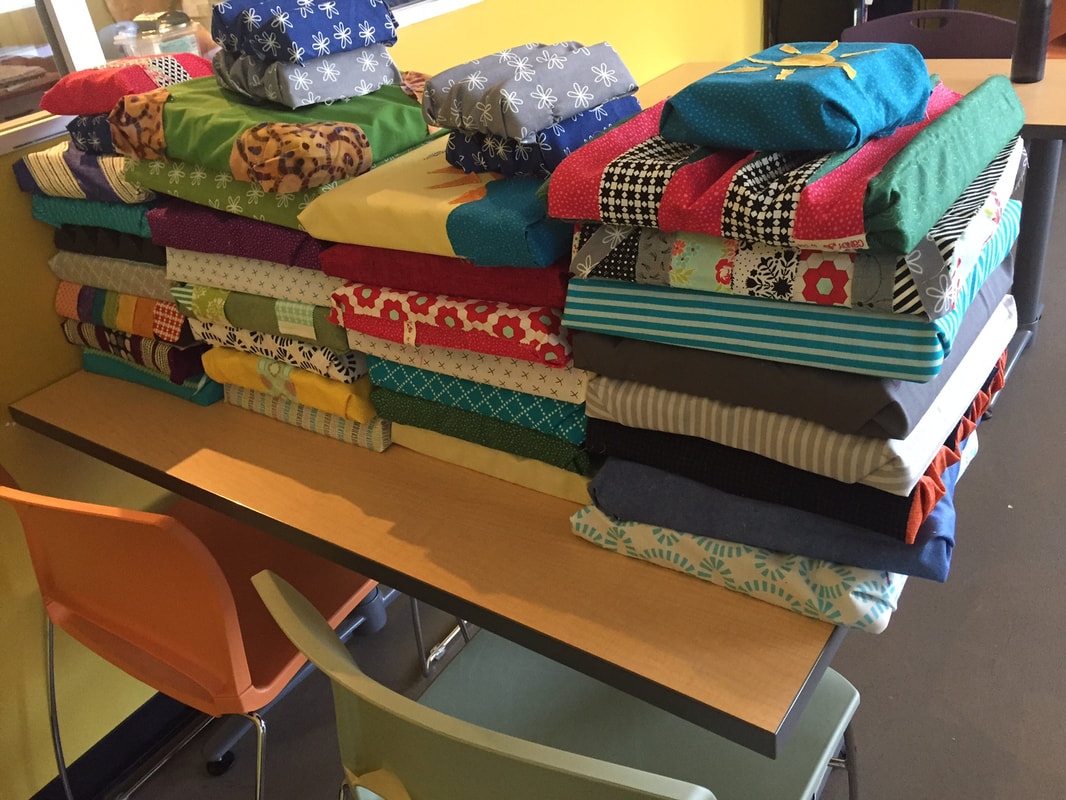 This a touch board activity that make sounds when you touch the word. The sounds are about what the words are for example the beach has a sound of the beach waves. Step 1: materials- touch board
- big sheet of paper - conductive ink pen - conductive paint - conductive string - word cloud image - lipo battery - a speaker Step 2:- print big word cloud heart sheet - fill in important words with the conductive paint/ink pen Step 3: - download word sounds onto touch board - tape touch board to the heart sheet - connect lines to the important words - fill in the lines with conductive ink pen - tie conductive thread to touch board, then tape them onto the lines that are attached to the words you choose *IMPORTANT NOTE!!! don't let the lines touch or else they won't work* Step 4:- Good luck connecting the lines to the words you choose! And thank you for taking you're time to see how we made our project work!! :)
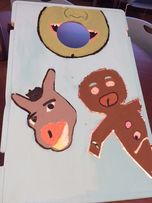
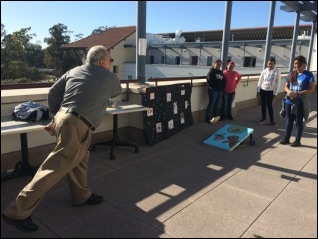
Its a twist to a normal bean bag game and fun for kids! It also makes cool sounds.
Step 1: Supplies
Step 2: Draw Characters Draw the characters with pencil on the bean bag stand. Paint them with acrylic paint Step 3: Drill Holes we drilled holes on the places we wanted to hear a sound. We put screws into the holes. for example we put three screws in shrek's face. Step 4: Touch boardwe downloaded mp3 sounds of shrek and then we saved it to the touch board. how to transfer sounds to the touch board available online: http://www.bareconductive.com/make/introducing-the-touch-board/ Step 5: Alligator clipsafter we used alligator clips to connect the touch board sounds to the screws. we also used conductive paint on the top side of the screws. we used conductive paint so that all of the board makes a sound when anything conductive touches it. Step 6: Conductive beanbags you have to use conductive fabric wrapped around the beanbag so that it worked when it touches the conductive paint. Step 7: Connecting you have to plug a battery to the touch board and also a speaker so you can hear the noise. the screws and the touch board were connected by alligator clips. don't forget to test it out before to make sure the sounds are right for each character |
AuthorSt. George Youth Center Teens Archives
October 2019
Categories
All
|


 RSS Feed
